
Your AirPower Dashboard: Syncs, Cards, and Controls
The dashboard is the main view in AirPower. It lists all your syncs as cards and provides controls for managing, searching, and reordering them.
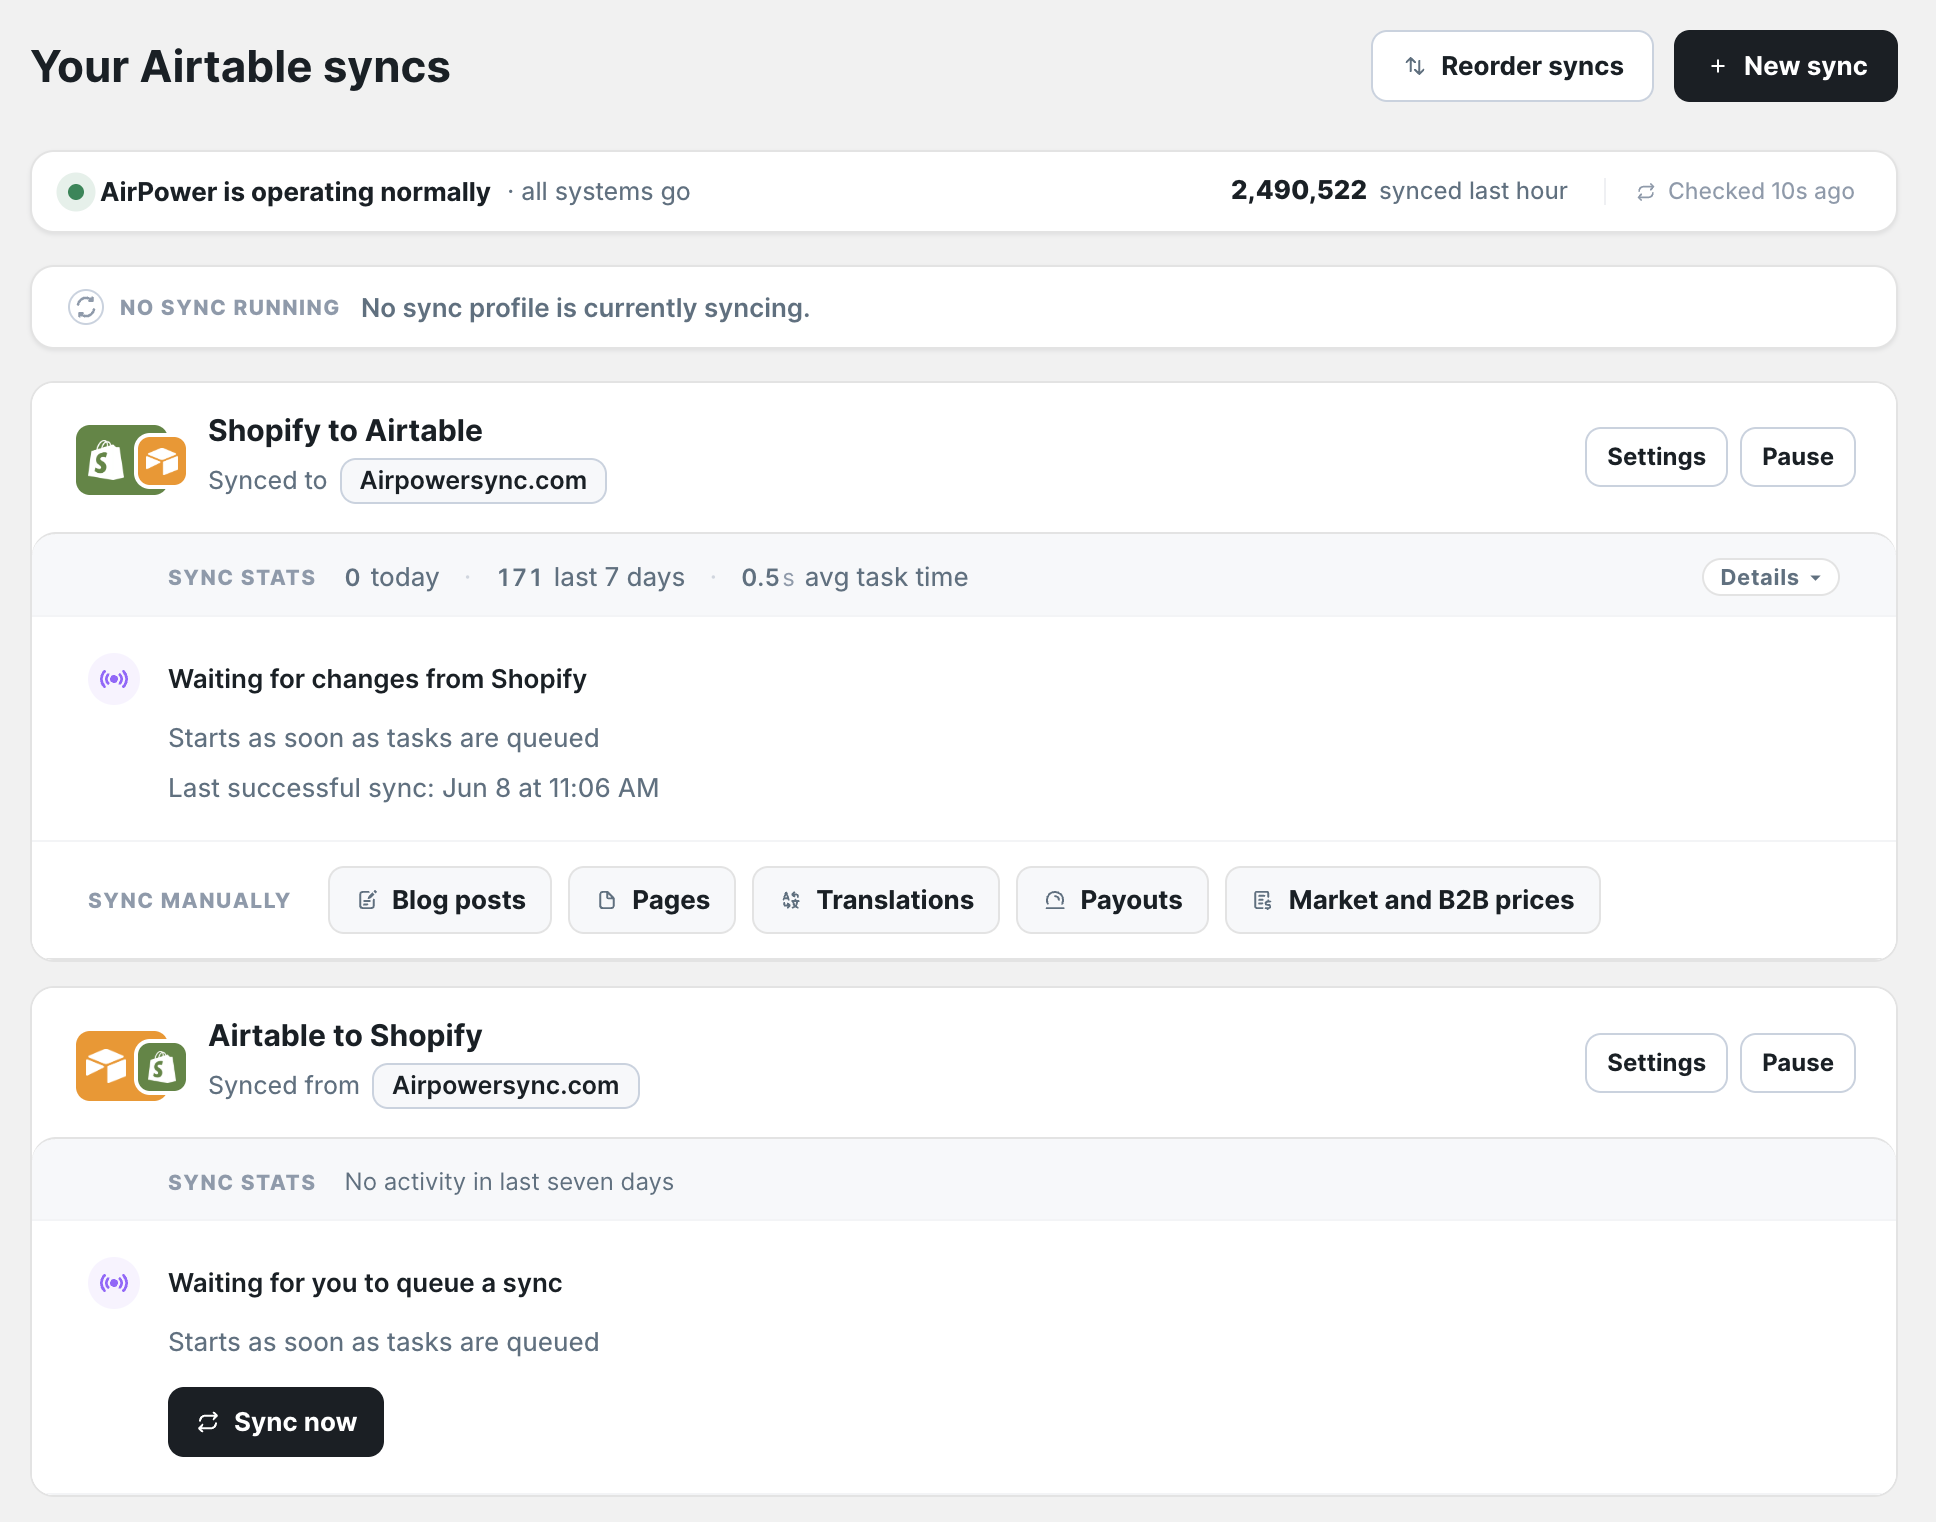
Dashboard header and actions
The header row shows the page title and two action buttons.
Reorder syncs: appears when you have two or more syncs. Click it to enter reorder mode and change the display order.
New sync: opens the new sync setup flow.
Search toolbar
When you have three or more syncs, a search field appears below the header. Type any part of a sync name to filter the card list. The filter is case-insensitive and updates as you type.
Reorder mode
Click Reorder syncs to enter reorder mode. In this mode, the card list is replaced by a compact row list.
Each row shows the sync name, direction, connection endpoints, and any status badges. You can reorder syncs two ways:
- Drag: drag a row to a new position
- ↑ / ↓ buttons: move a row one position at a time
Click Save order to persist the new order. Click Cancel or Reset to current order to discard changes.
Sync card sections
Each sync appears as a dashboard sync card. The sections below describe what each part of a card shows.
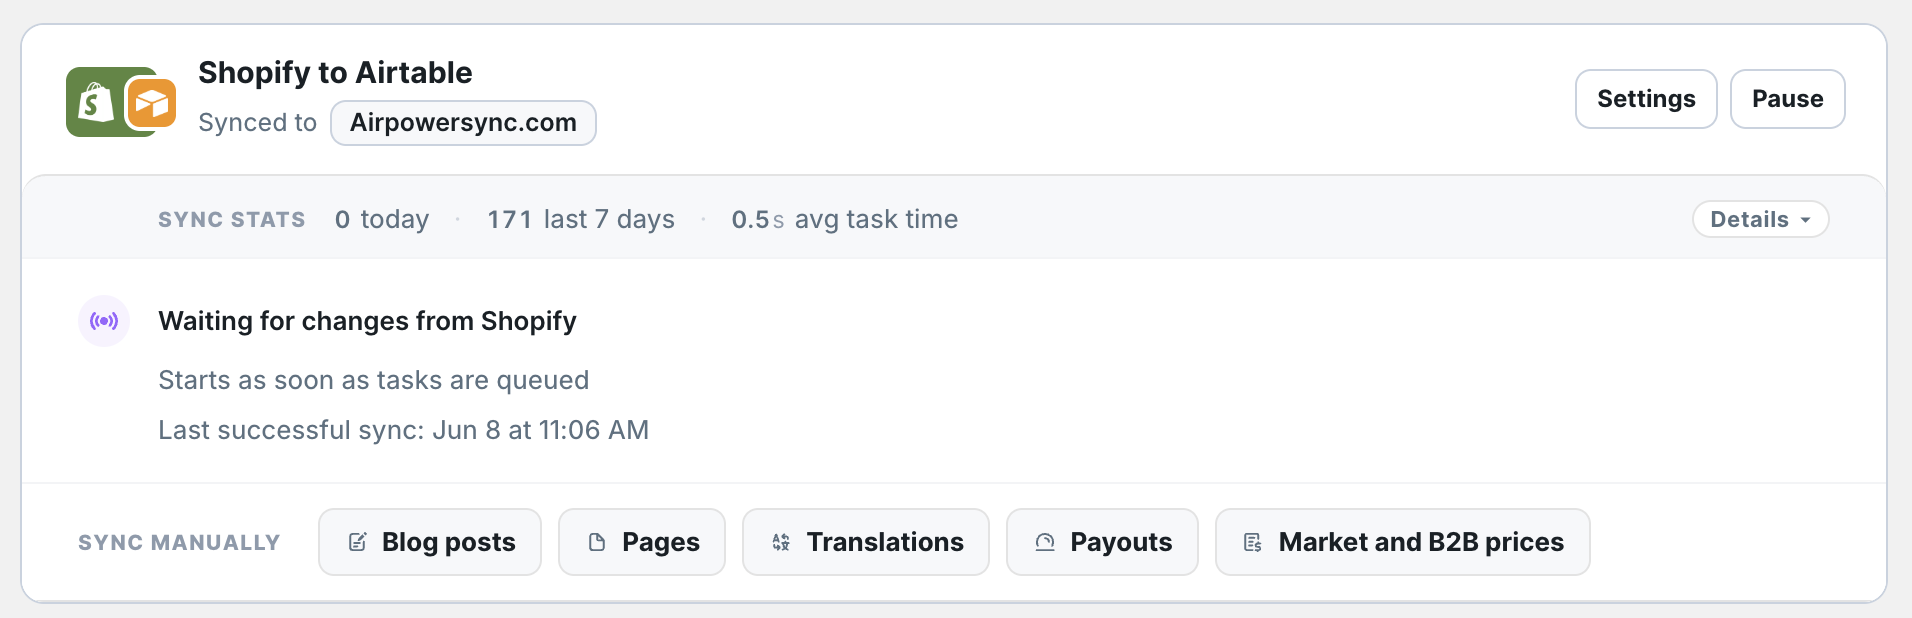
Card header
The top of the card shows the sync name and a direction badge indicating whether the sync flows Airtable → Shopify or Shopify → Airtable.
Header actions:
- Settings: opens the sync configuration editor
- Pause: pauses the sync without disabling it. Available when the sync is enabled and running.
Connection strip
The connection strip shows which Shopify store and Airtable base are linked to this sync. The labels are Shopify store and Airtable base.
Sync stats
Below the connection strip, Sync stats shows how many sync tasks have run.
When the sync has recent activity, the section shows:
- Tasks completed today
- Tasks completed in the last 7 days
- Average task processing time
When there is no recent activity, the section shows No activity in last seven days.
Details breakdown: When activity data is available, a Details toggle appears. Click it to expand a table showing each job type that ran in the last 7 days, the task count, and the average processing time per job type. Click Hide to collapse the breakdown.
Status section
The status section shows what the sync is doing right now.
When running: displays active tasks by type (for example, “Product update” or “Shopify → Airtable”).
When idle (Shopify → Airtable): shows the configured schedule and the next scheduled run time. Displays the time of the last successful sync and any error count.
When idle (Airtable → Shopify): shows a Sync now button. Click it to queue a sync immediately.
Sync manually
This section appears on Shopify → Airtable cards when the sync is enabled and not paused. It contains buttons for data types that require a manual pull from Shopify:
- Blog posts: downloads blog and blog post data
- Pages: downloads store page data
- Translations: downloads all translation data for configured objects
- Payouts: downloads Shopify Payments payout data
- Market and B2B prices: downloads international market prices and B2B catalog prices
Each button triggers a one-time sync for that data type only.
Paused state
When a sync is paused, the card header shows a Paused badge and a Resume button. Click Resume to restart the sync.
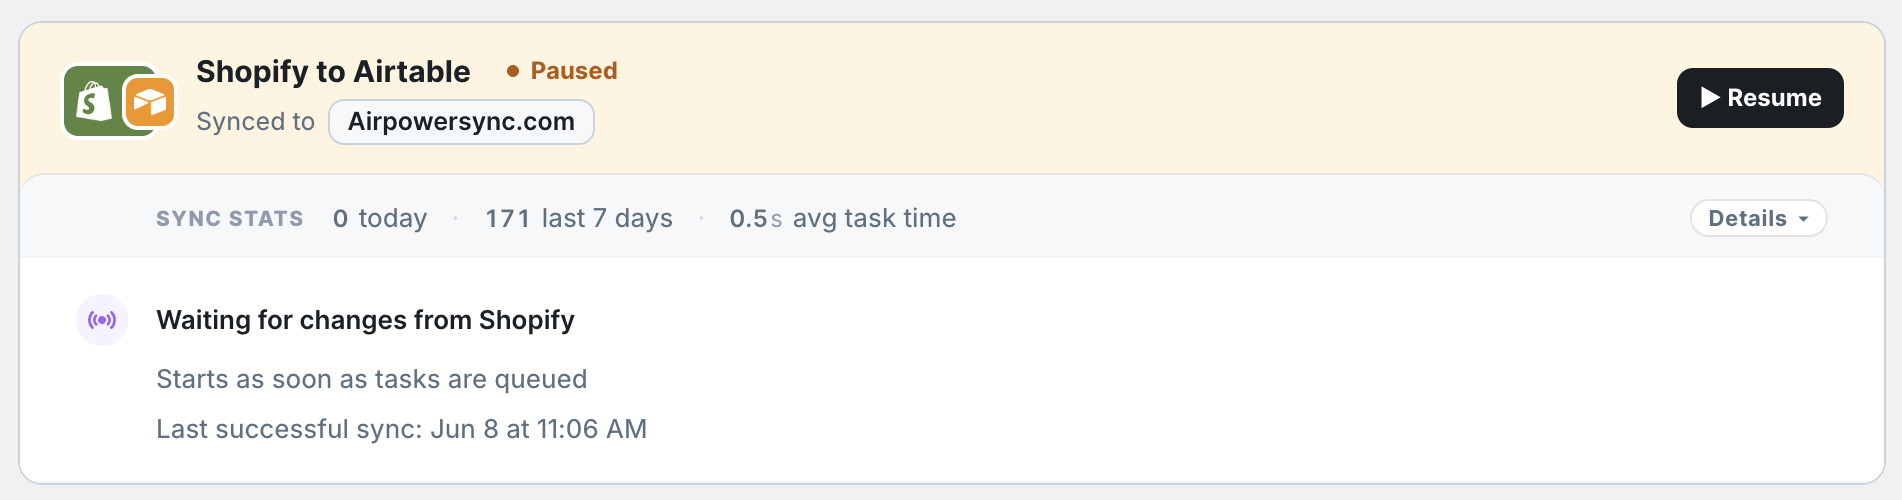
A sync may pause automatically after a sync error that requires attention. In that case, an alert describes the reason: either listing the error count, or noting that the sync was auto-paused after encountering an error.
Disabled state
A disabled sync shows a compact card with a Disabled badge. The action button label depends on state: if the sync was also paused, it shows Enable & resume; otherwise it shows Enable. No status or activity information is shown until the sync is enabled.
Errors
When errors exist, an alert appears in the card body. Click View Errors in the alert to expand the error list. Each error shows the message, the affected Airtable record ID or Shopify ID, and the data that caused the issue when available.