
Bulk Edit Shopify Blogs and Blog Posts with Airtable
In Shopify, articles live inside Blogs. A Blog is a channel like “News” or “Customer Stories”, and each Blog Post is an article inside one of those channels with its own title, handle, body HTML, author, summary, tags, image, and publish date.
Editing this content in the Shopify admin means opening one rich-text editor at a time. Editorial calendars, bulk SEO updates, and content reviews quickly outgrow that workflow.
AirPower brings blogs and blog posts into Airtable as two linked tables. Plan an editorial calendar from an Airtable view, bulk-edit post summaries and tags, schedule publish dates, then push supported Blog Post changes back to Shopify in one sync run.
Blogs are imported from Shopify so AirPower knows which channel each post belongs to. Blog Posts can be created and updated from Airtable, then synced to Shopify. Both data types support the Translations pane for multilingual content.
Set up Blogs and Blog Posts
- Open a sync or create a new one
- In Connections, select your Airtable base
- Go to Data & fields
- Click Blogs
- Select the Airtable table to sync to or from
- Open the Main Fields pane and map the fields you want to sync
- Click Save sync
Repeat steps 4–7 for Blog Posts, using its own Airtable table.
Default mappable Blog fields include title, handle, and store URL.
Default mappable Blog Post fields include title, handle, body HTML, author, summary HTML, tags, image URL, image alt text, template suffix, published flag, published at, created at, updated at, and store URL.
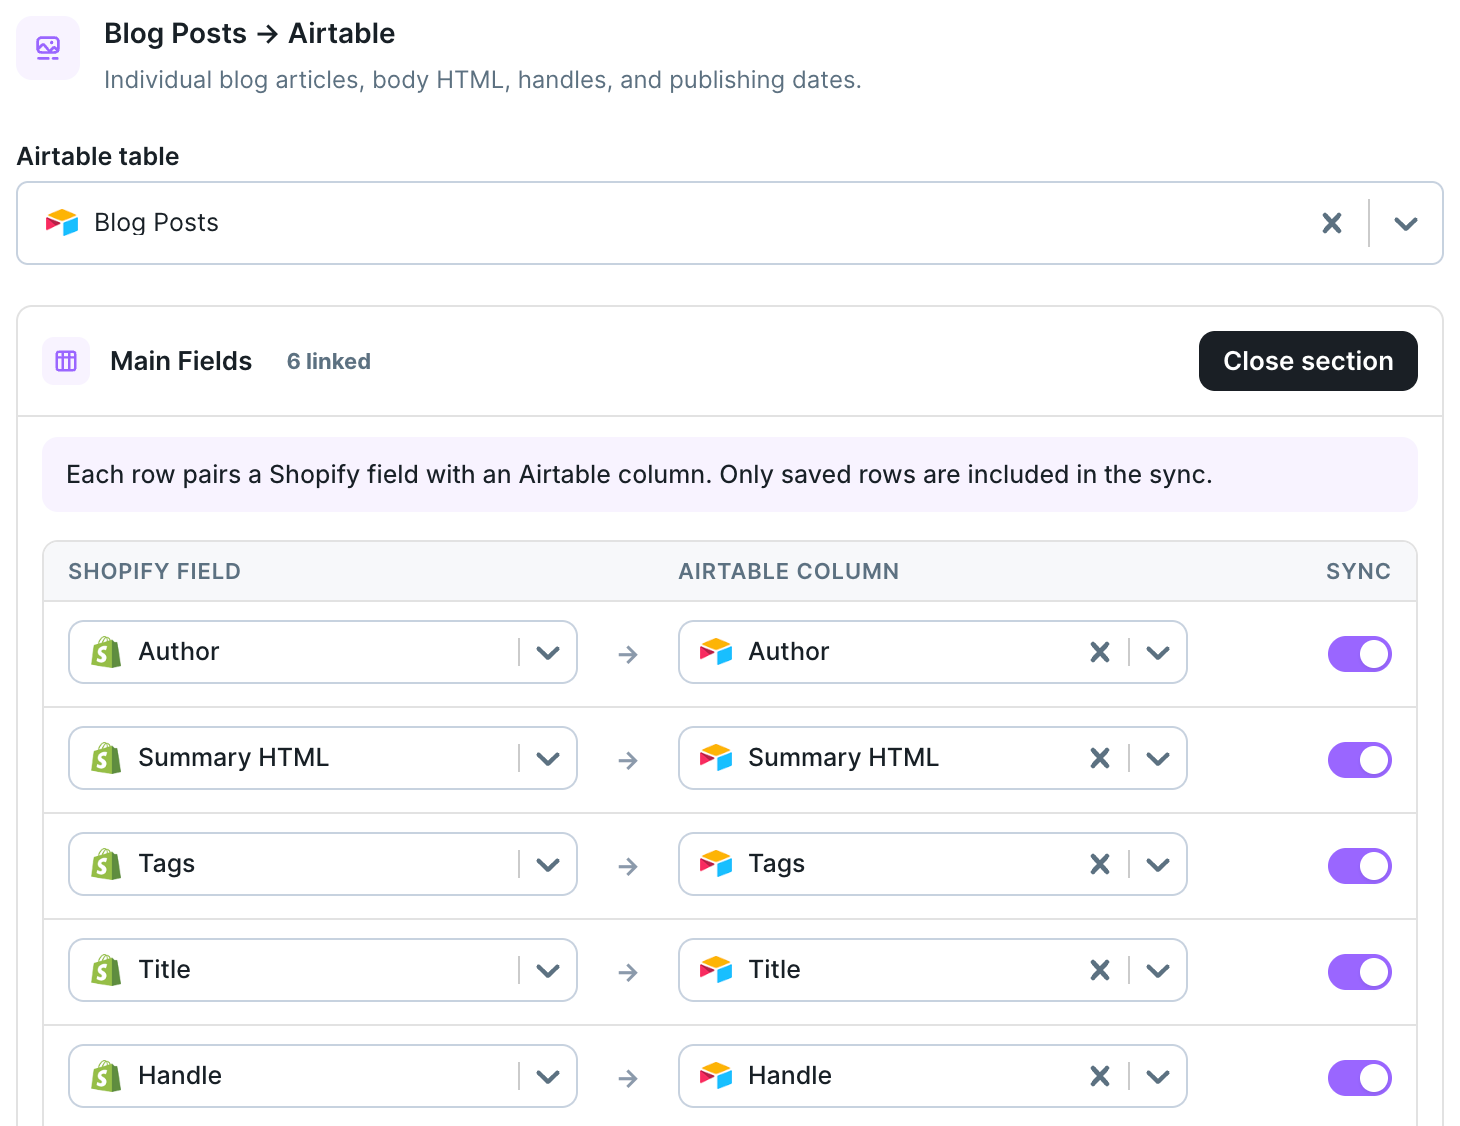
When both data types are configured in the same sync, blog posts link back to their parent blog through a linked-record column. See Connect Related Airtable Tables with Linked-Record Columns for how that works.
Pull blogs and blog posts from Shopify
Blog data does not flow into Airtable automatically. It requires a manual pull.
On the Shopify → Airtable sync card, find the Sync manually section and click Blog posts. This downloads both blog channels and individual blog posts.
You can also trigger this from the sync editor: go to Settings → Download Shopify data, then click Download next to Blog posts.
Edit content in Airtable
Update the mapped columns directly in the tables. Use a long-text Airtable column for body HTML and summary HTML. Edits stay in Airtable until you run an Airtable → Shopify sync.
For editorial planning, build an Airtable view that filters by publish date, status, or tag, and work through the posts from there.
Push edits back to Shopify
- Open the Airtable → Shopify sync
- In Connections, select your Airtable base
- Go to Data & fields and confirm Blogs and Blog Posts are configured with the correct tables and field mappings
- Click Save sync
- Click Sync now on the dashboard sync card
For posts that already exist in Shopify, AirPower updates the content. For new rows, AirPower creates a new post once the required fields are filled in. Link each new post to a blog row so the app knows where the article belongs.
Translations
Blogs and Blog Posts support the Translations pane for syncing translated field values by language locale or market. See Bulk Edit Shopify Translations and Metafield Translations for setup steps.