
Sync Editor Overview
The sync editor is where you configure everything about a sync. It opens when you create a new sync or click Settings on a dashboard sync card.
Setup is broken into six sections, listed on the left. Click a section name to jump to it. Sections that need attention are marked with a status indicator.
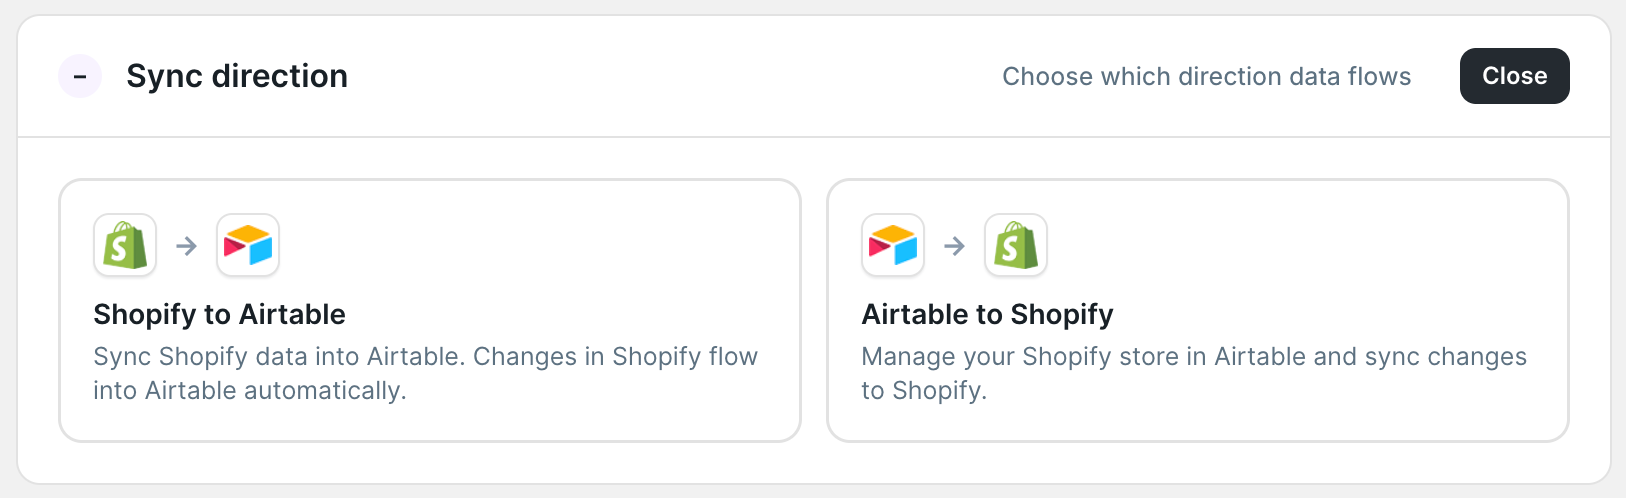
Direction
Controls which way data flows.
Shopify → Airtable: Shopify is the source. Changes in Shopify update rows in Airtable. The sync runs on a schedule and also responds to changes pushed automatically from Shopify.
Airtable → Shopify: Airtable is the source. You trigger a sync run from the dashboard, and AirPower reads your Airtable rows and updates Shopify.
Connections
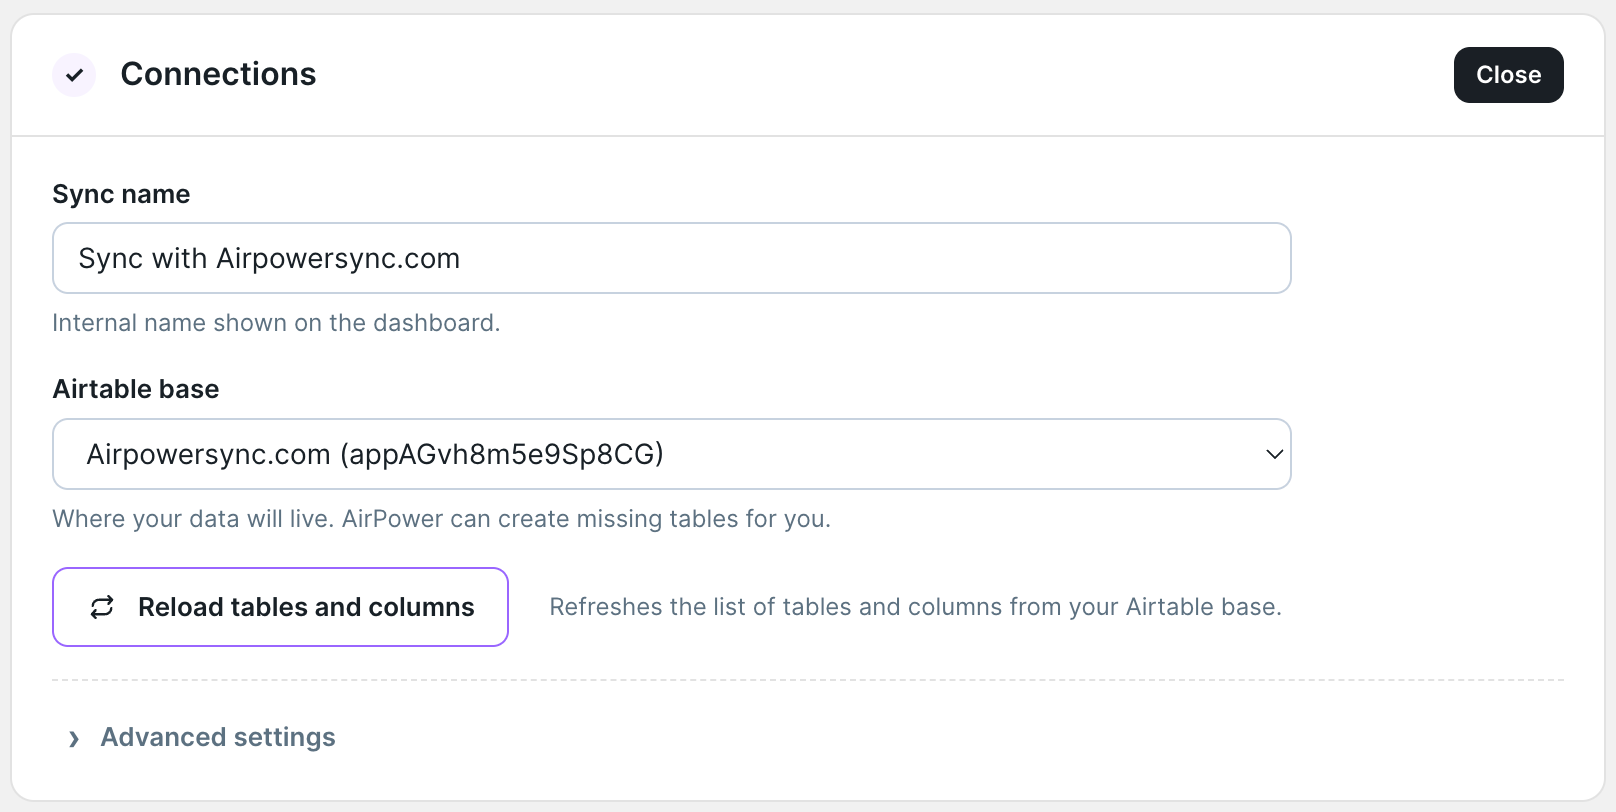
Links the sync to a specific Shopify store and Airtable base.
Select the Shopify store and the Airtable base you want this sync to use. AirPower loads the base structure, including tables, columns, and views, so you can reference them in the sections below.
If a new base is added to your account after you open the editor, use the reload button to refresh the list.
Data & fields
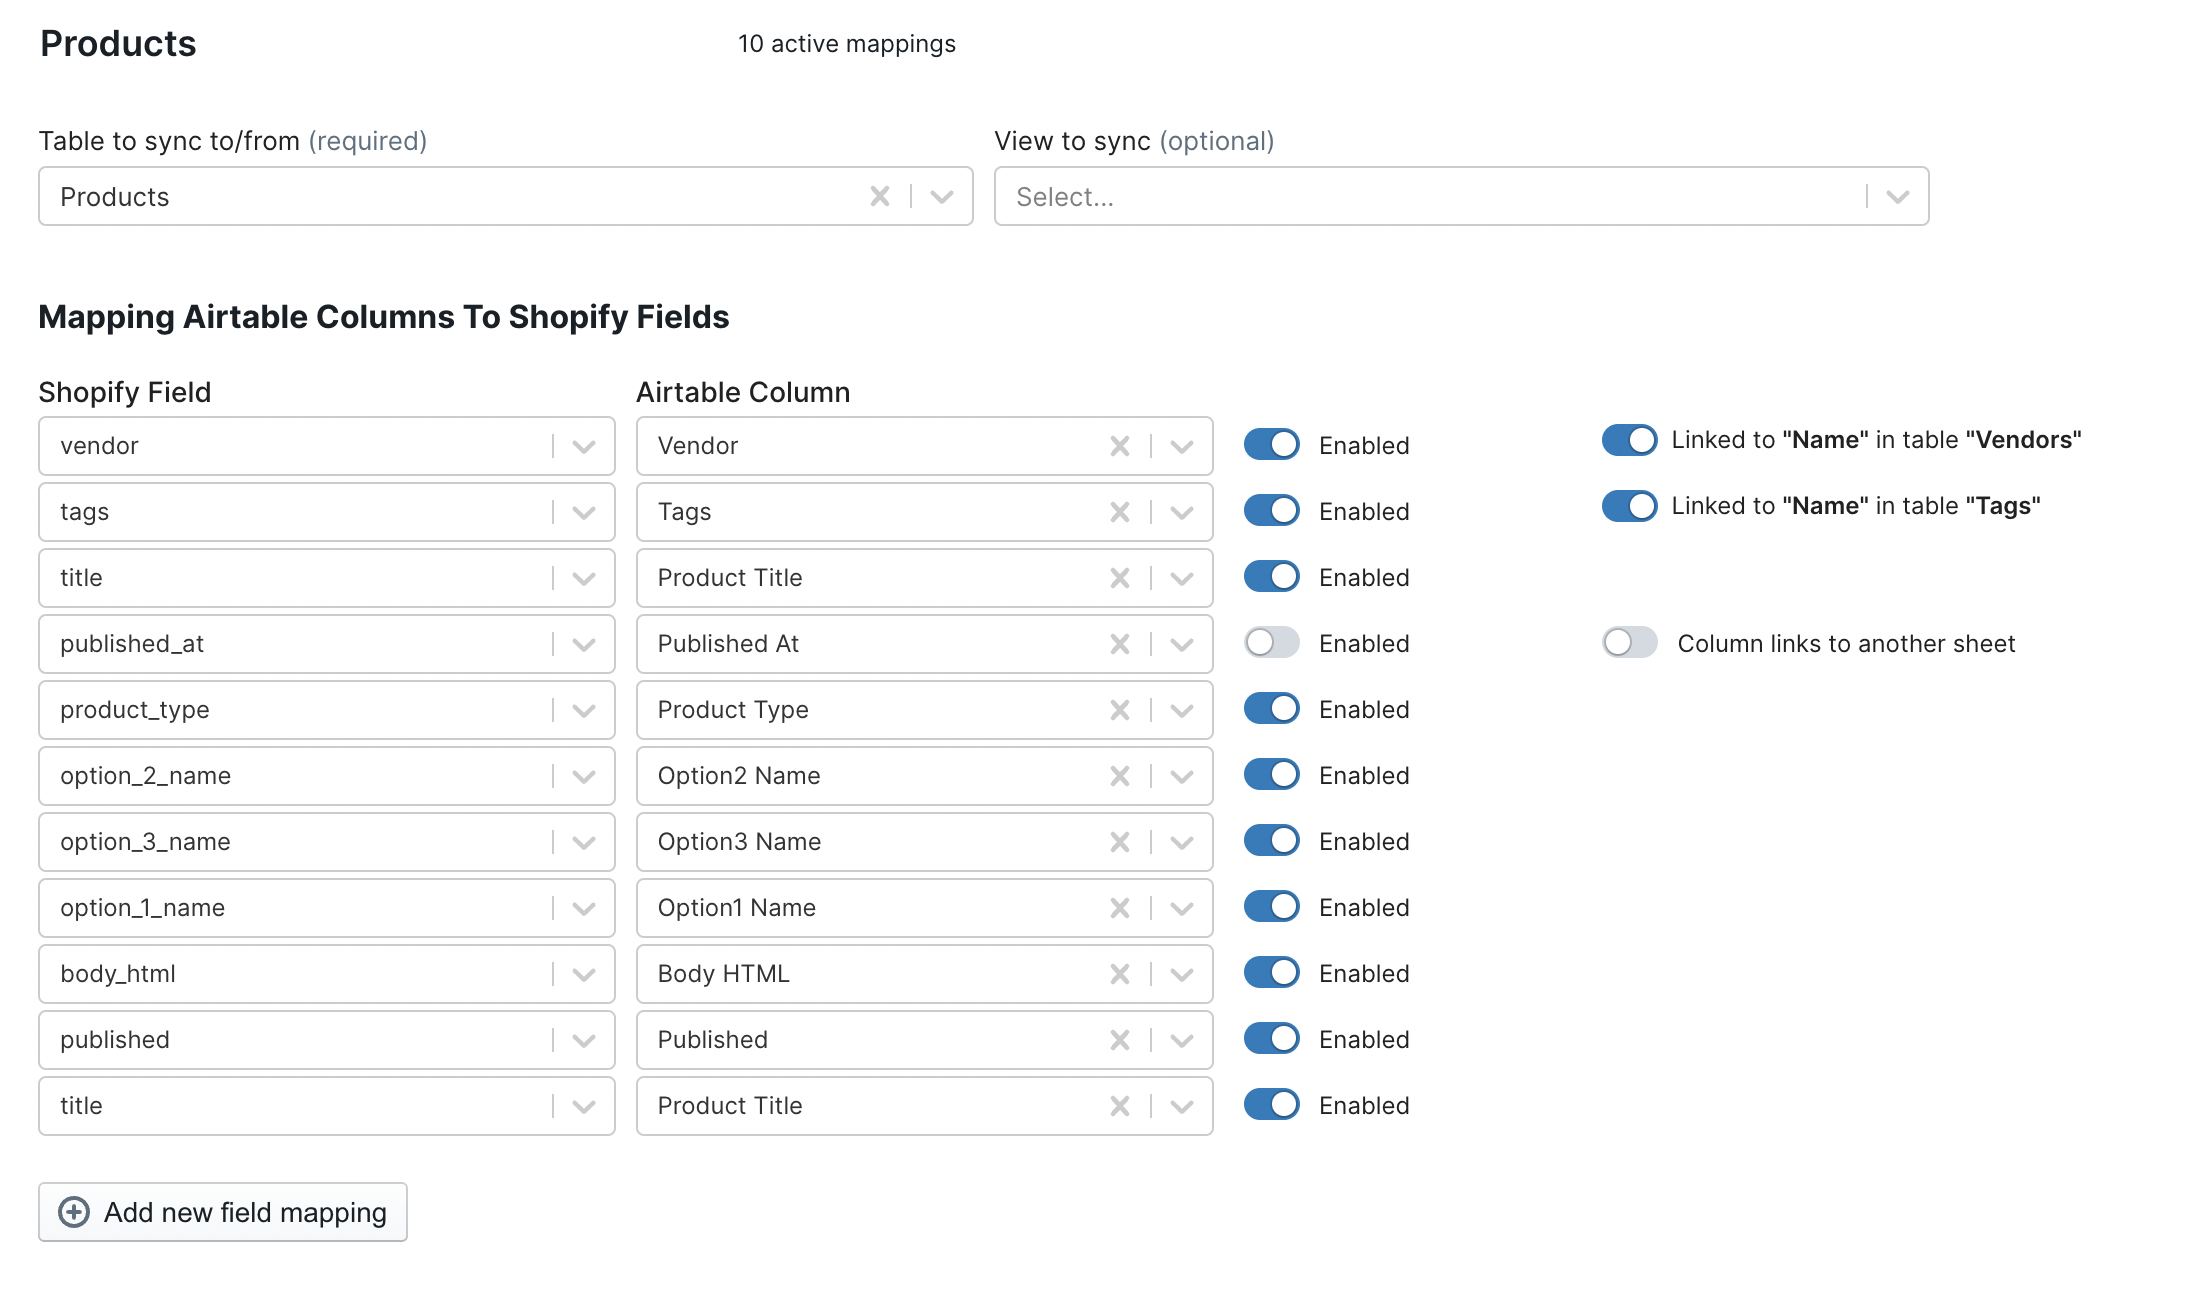
The primary configuration surface. This is where you choose which Shopify data types to include and map them to Airtable tables and columns.
Each data type (Products, Variants, Collections, and so on) has its own configuration panel. For each type you enable:
- Select the Airtable table to sync to or from
- For Airtable → Shopify syncs only, optionally select an Airtable view to limit which rows are included
- Map Shopify fields to Airtable columns in the Main Fields pane
- Configure any additional panes that appear, such as Metafields, Publishing, Inventory, International market prices, B2B catalog prices, Translations, Metafield translations, Order notes, or Custom fields
AirPower can create missing tables and columns directly from this section.
After creating a table, column, or automatic mappings, a prompt may appear asking whether to save the sync and pull that Shopify data into Airtable now. Click Save sync, and sync [data type] now to queue the download, or click Not now.
Filtering
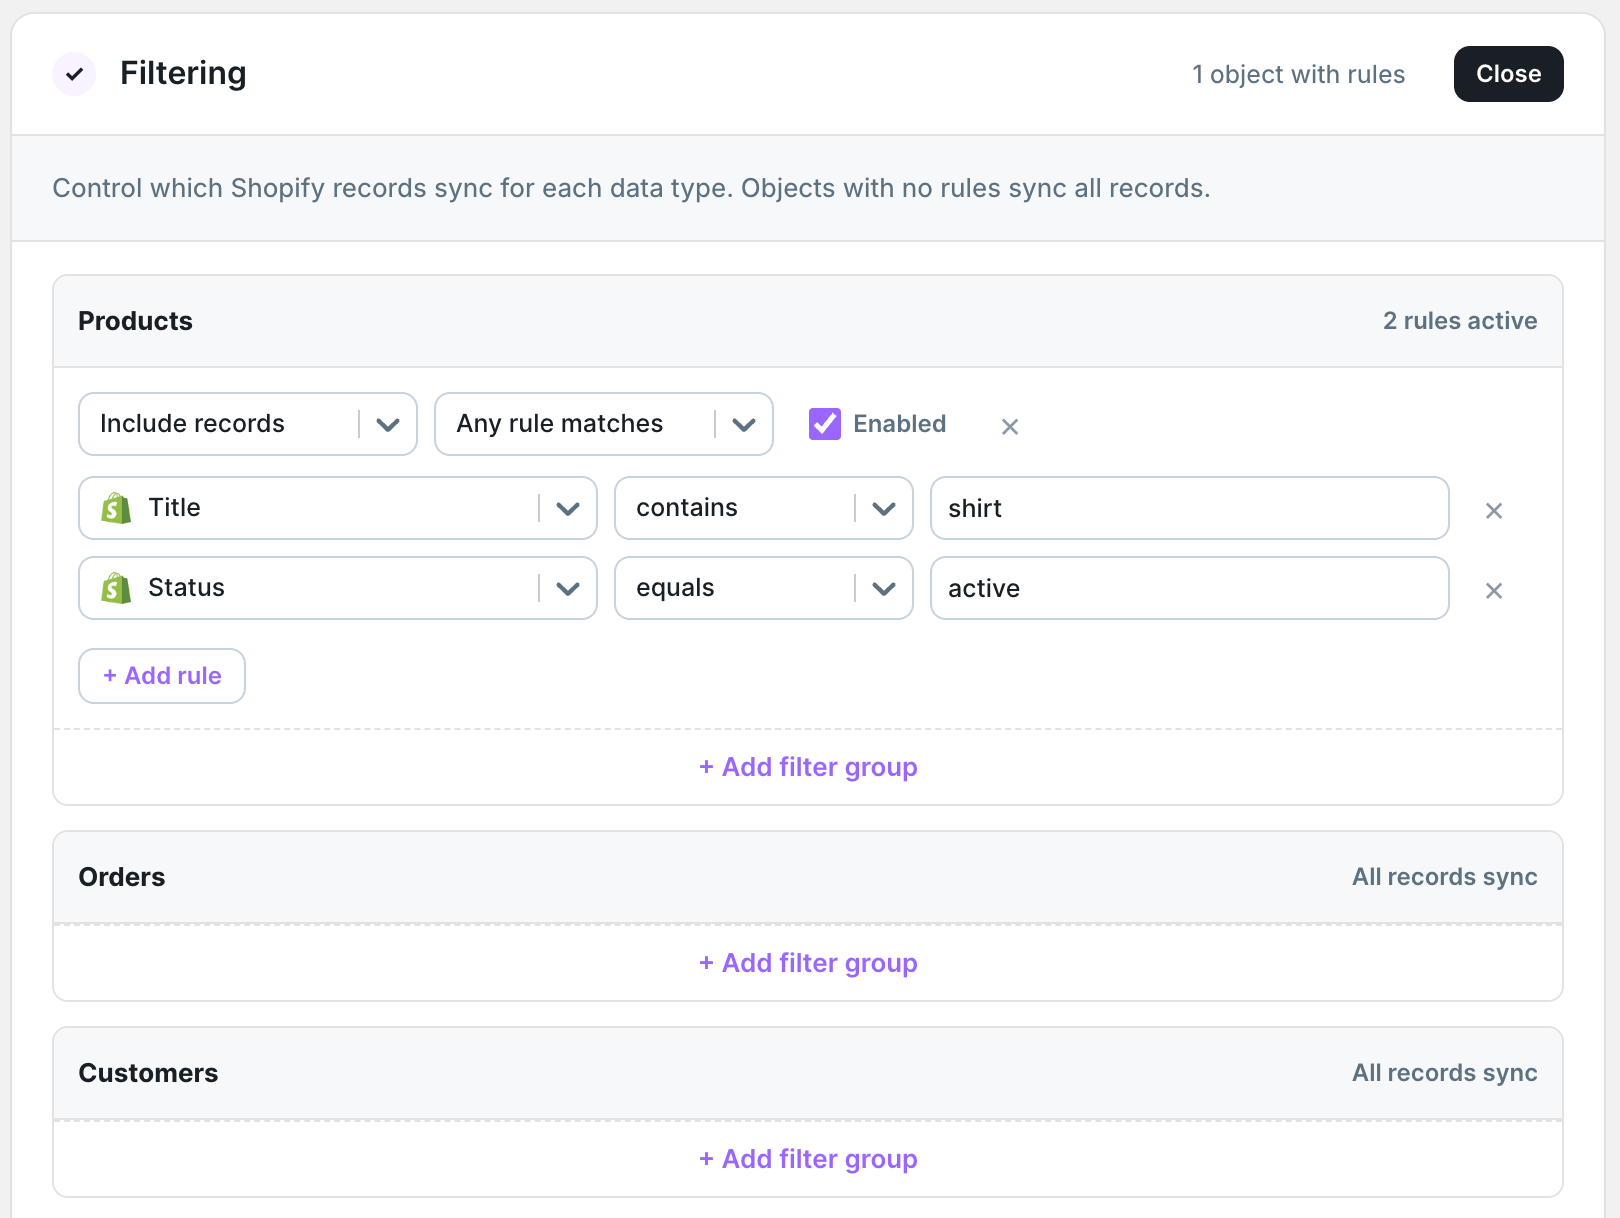
Available on Shopify → Airtable syncs for supported data types: Products, Images, Pages, Orders, and Customers. Filtering lets you define rules that control which Shopify records are written to Airtable.
Rules are evaluated when records arrive from Shopify. Records that do not match the rules are skipped and not written to the Airtable table.
The Filtering section applies to Shopify → Airtable syncs only. To limit what an Airtable → Shopify sync sends the other way, scope it to an Airtable view in Data & fields instead. See Use Airtable views to limit sync rows.
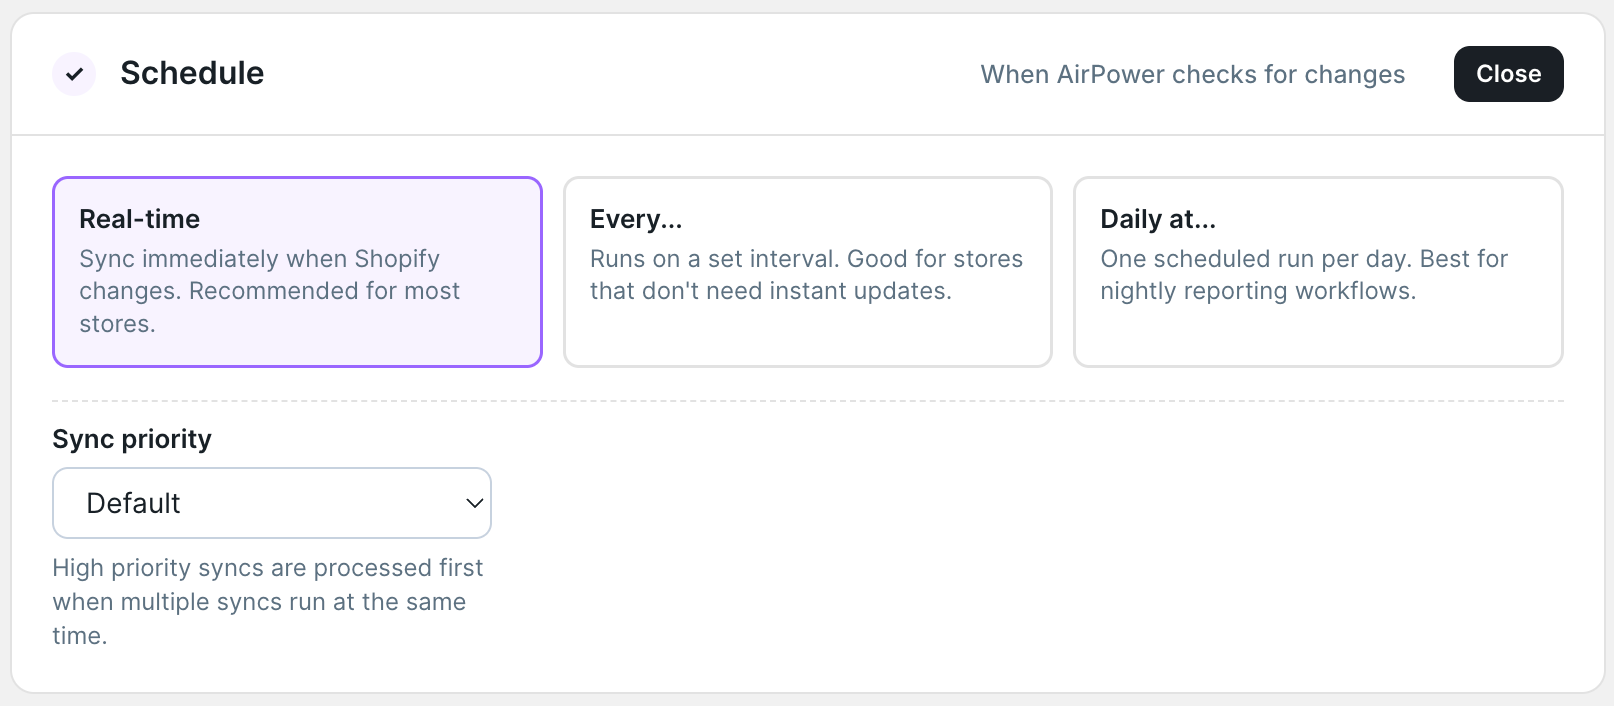
Schedule
Controls when and how often the sync runs.
Shopify → Airtable syncs offer three schedule options:
- Real-time: sync runs immediately when Shopify changes. Recommended for most stores.
- Every N minutes: runs on a fixed interval after each previous run finishes
- Daily at a set time: runs once per day at a specific local time
Airtable → Shopify syncs also support interval and daily schedules, in addition to manual triggering from the dashboard.
Settings
Contains sync-level options and maintenance actions.
- Linked tables: shows auto-detected linked-record relationships between configured data types and lets you override the column used for each link
- Download Shopify data: appears on Shopify → Airtable Syncs and queues a fresh download of existing Shopify data
- Advanced settings: clone, disable, delete queued tasks, clear errors, or delete the sync. Also contains the manual trigger URL for Airtable → Shopify syncs.
Saving
Changes in the editor do not take effect until you click Save sync. A save indicator in the top bar shows when you have unsaved changes.
After saving a new sync, a prompt appears at the top of the editor.
Import from Shopify
Queues a one-time Shopify → Airtable import for the configured data.
Sync Airtable to Shopify
Queues an Airtable → Shopify sync for the configured data.
Not now
Dismisses the prompt. Start the sync later from the dashboard.
After the first run is queued, click Go to dashboard to track progress.